Chatbot Wizard
The Chatbot Wizard component allows you to rapidly create an AI website chatbot powered by OpenAI that you can embed on your website. It’s not as powerful as the Machine Learning component, but much easier to use. You can start out with the Chatbot Wizard, for then to later configure your model with the Machine Learning component.
You’ll need an OpenAI API account, and provide Magic with your API key. In addition you’ll need a reCAPTCHA account, and provide your site-key and secret to Magic. Once you’ve done this, you can provide your website URL, click a button, and some few minutes later you’ve got an AI chatbot you can include on your website. Once you’re done with this process, you can further configure your model using the Machine Learning component, manually adding training snippets, edit training snippets, etc.
In the bottom/right corner of this page you can try our chatbot to understand roughly what you’ll end up with.
Create your own AI chatbot
The process of creating an AI chatbot is fairly straight forward. The following guides you through everything you need to know to get started.
1. Configuring Magic with your OpenAI API key
To create your own AI chatbot you first have to supply Magic with your OpenAI API key.
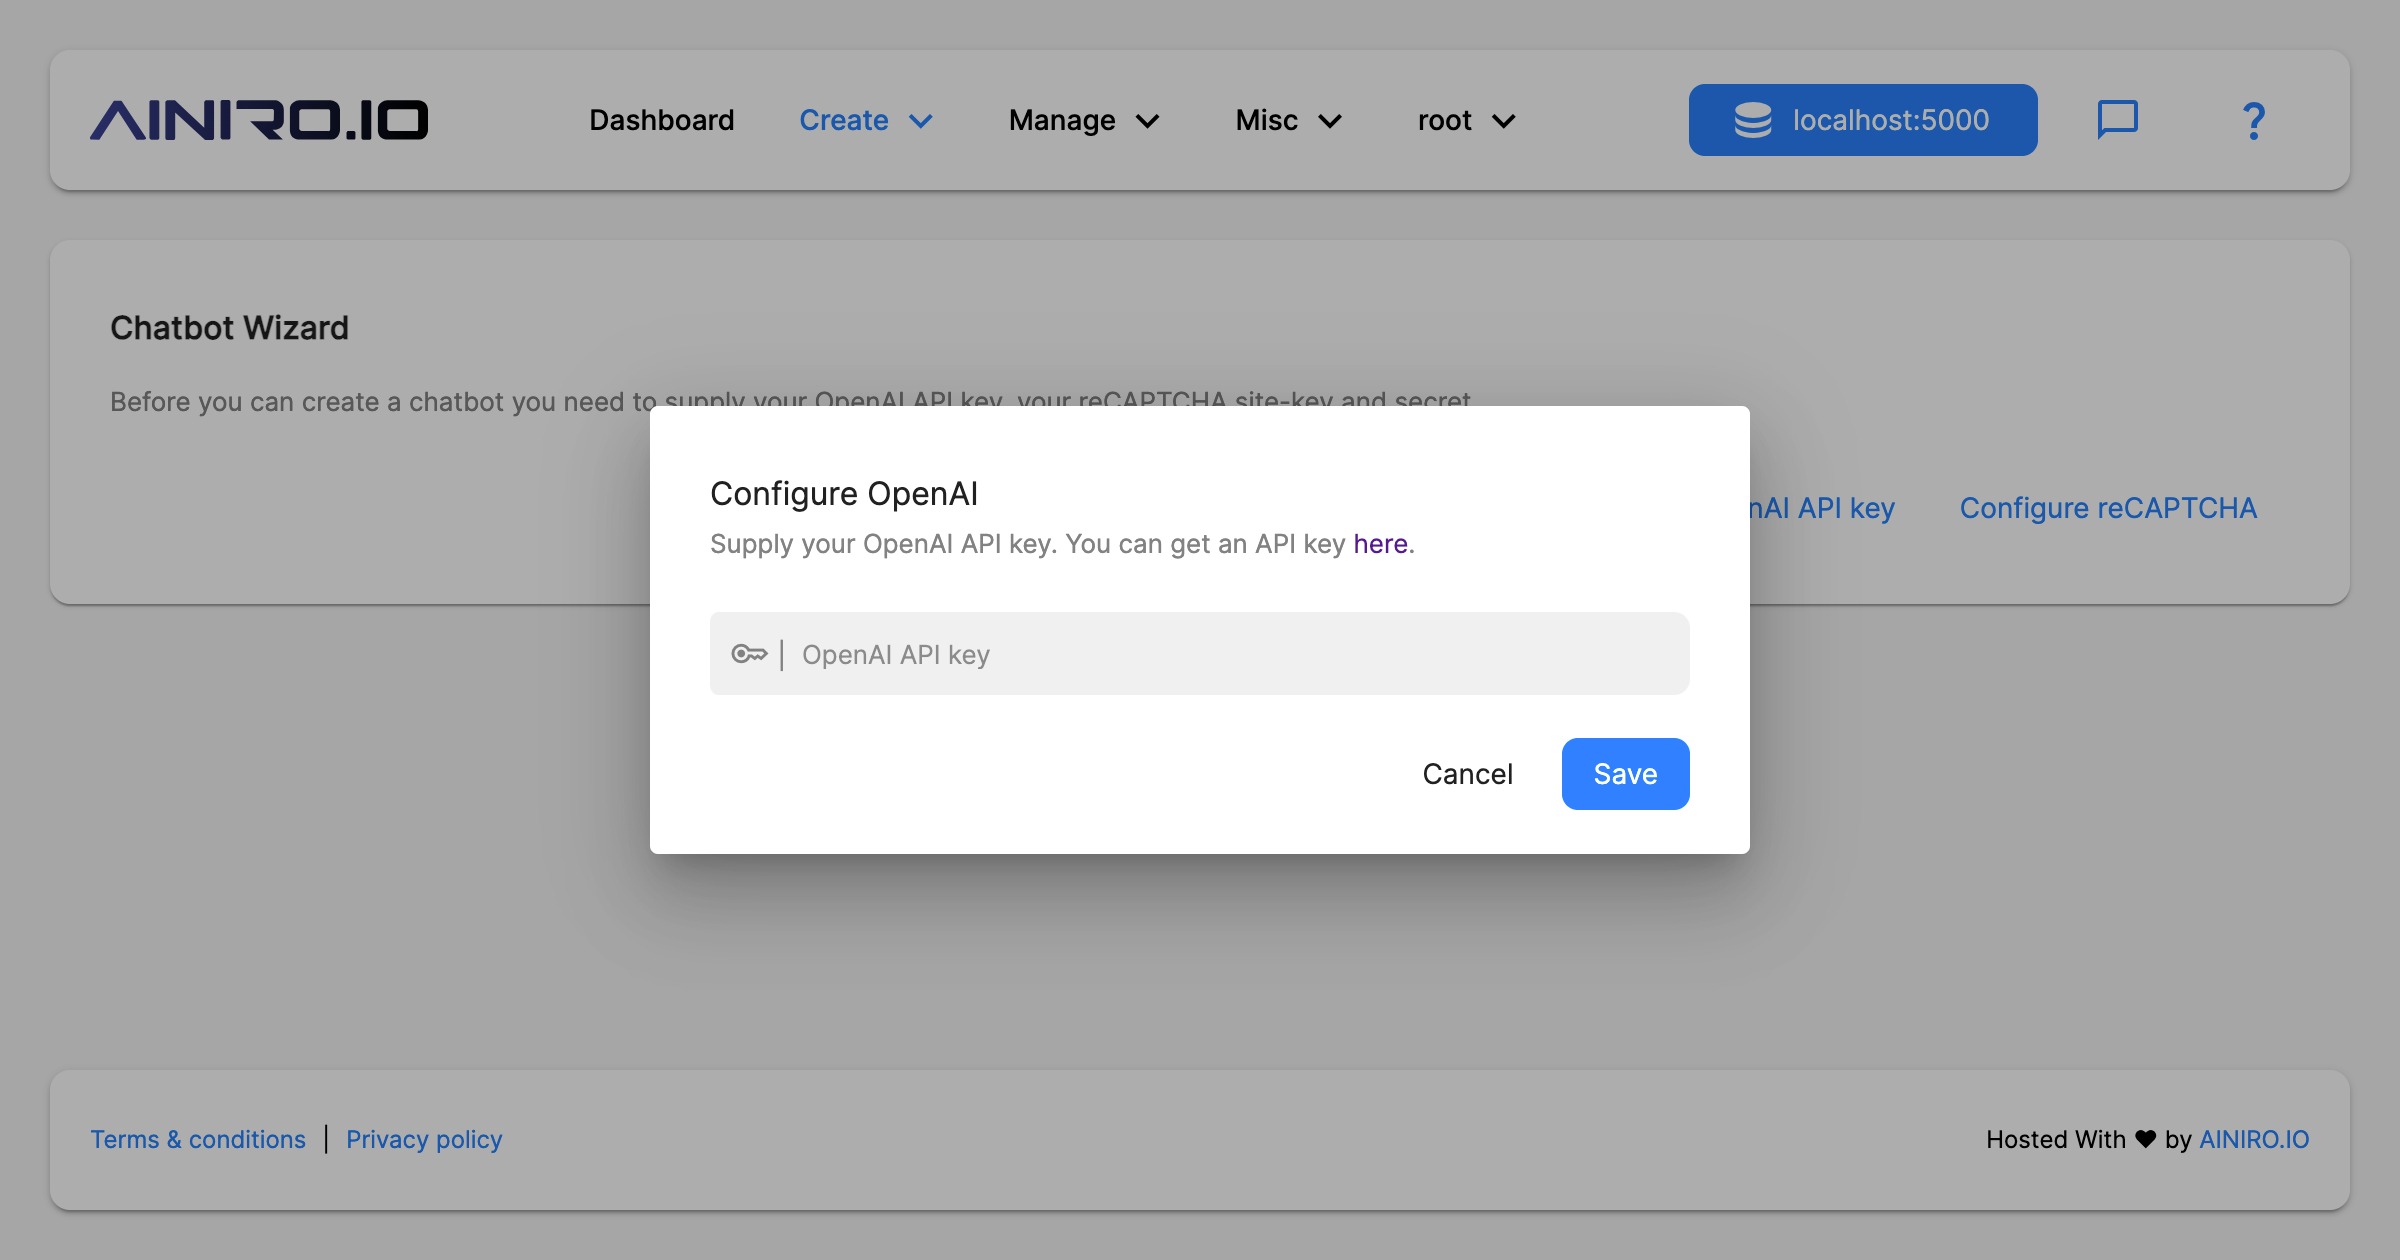
If you don’t have an OpenAI API key you can click here to go to OpenAI’s platform and create one. Notice, you have to make at least one payment to OpenAI before you’re given access to GPT4.
Your API key should resemble the following;
sk-xyGHa45xyzQWEghjKLMNOaBCdQHHllsdf345SFGfdg
Notice, the above is not a valid API key, but just provided to illustrate how it looks like.
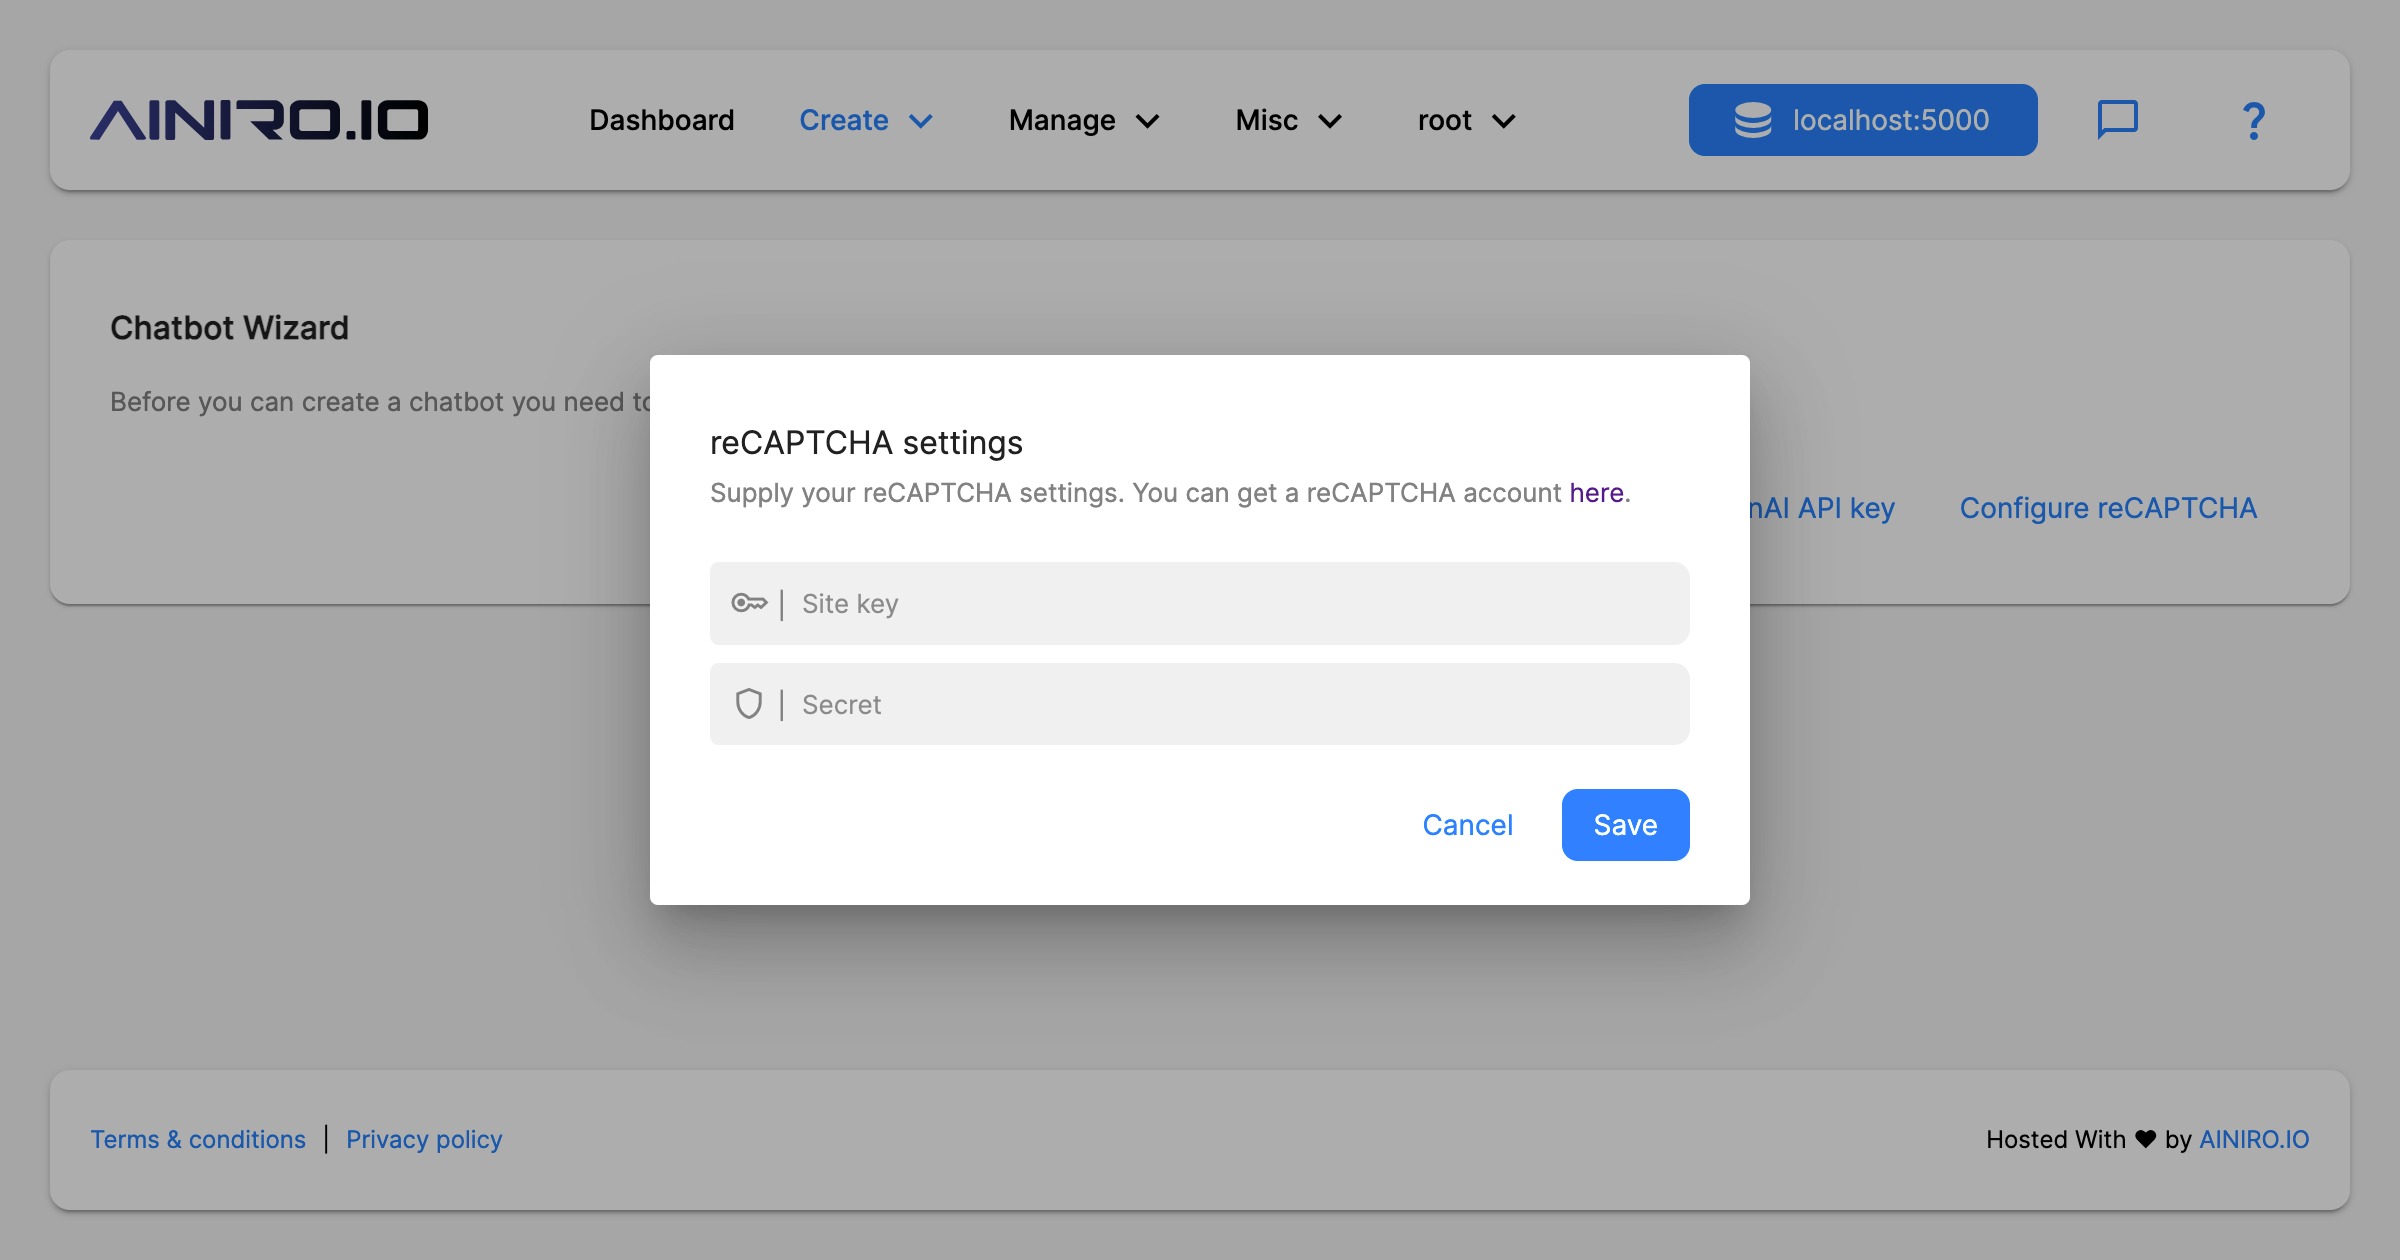
2. Configuring magic with reCAPTCHA keys
To avoid having your chatbot overrun by bots, you want to use Google reCAPTCHA. You can create a Google reCAPTCHA key pair for free by clicking here. Copy and paste bot the site-key and the secret into the dialog asking you for your reCAPTCHA settings.
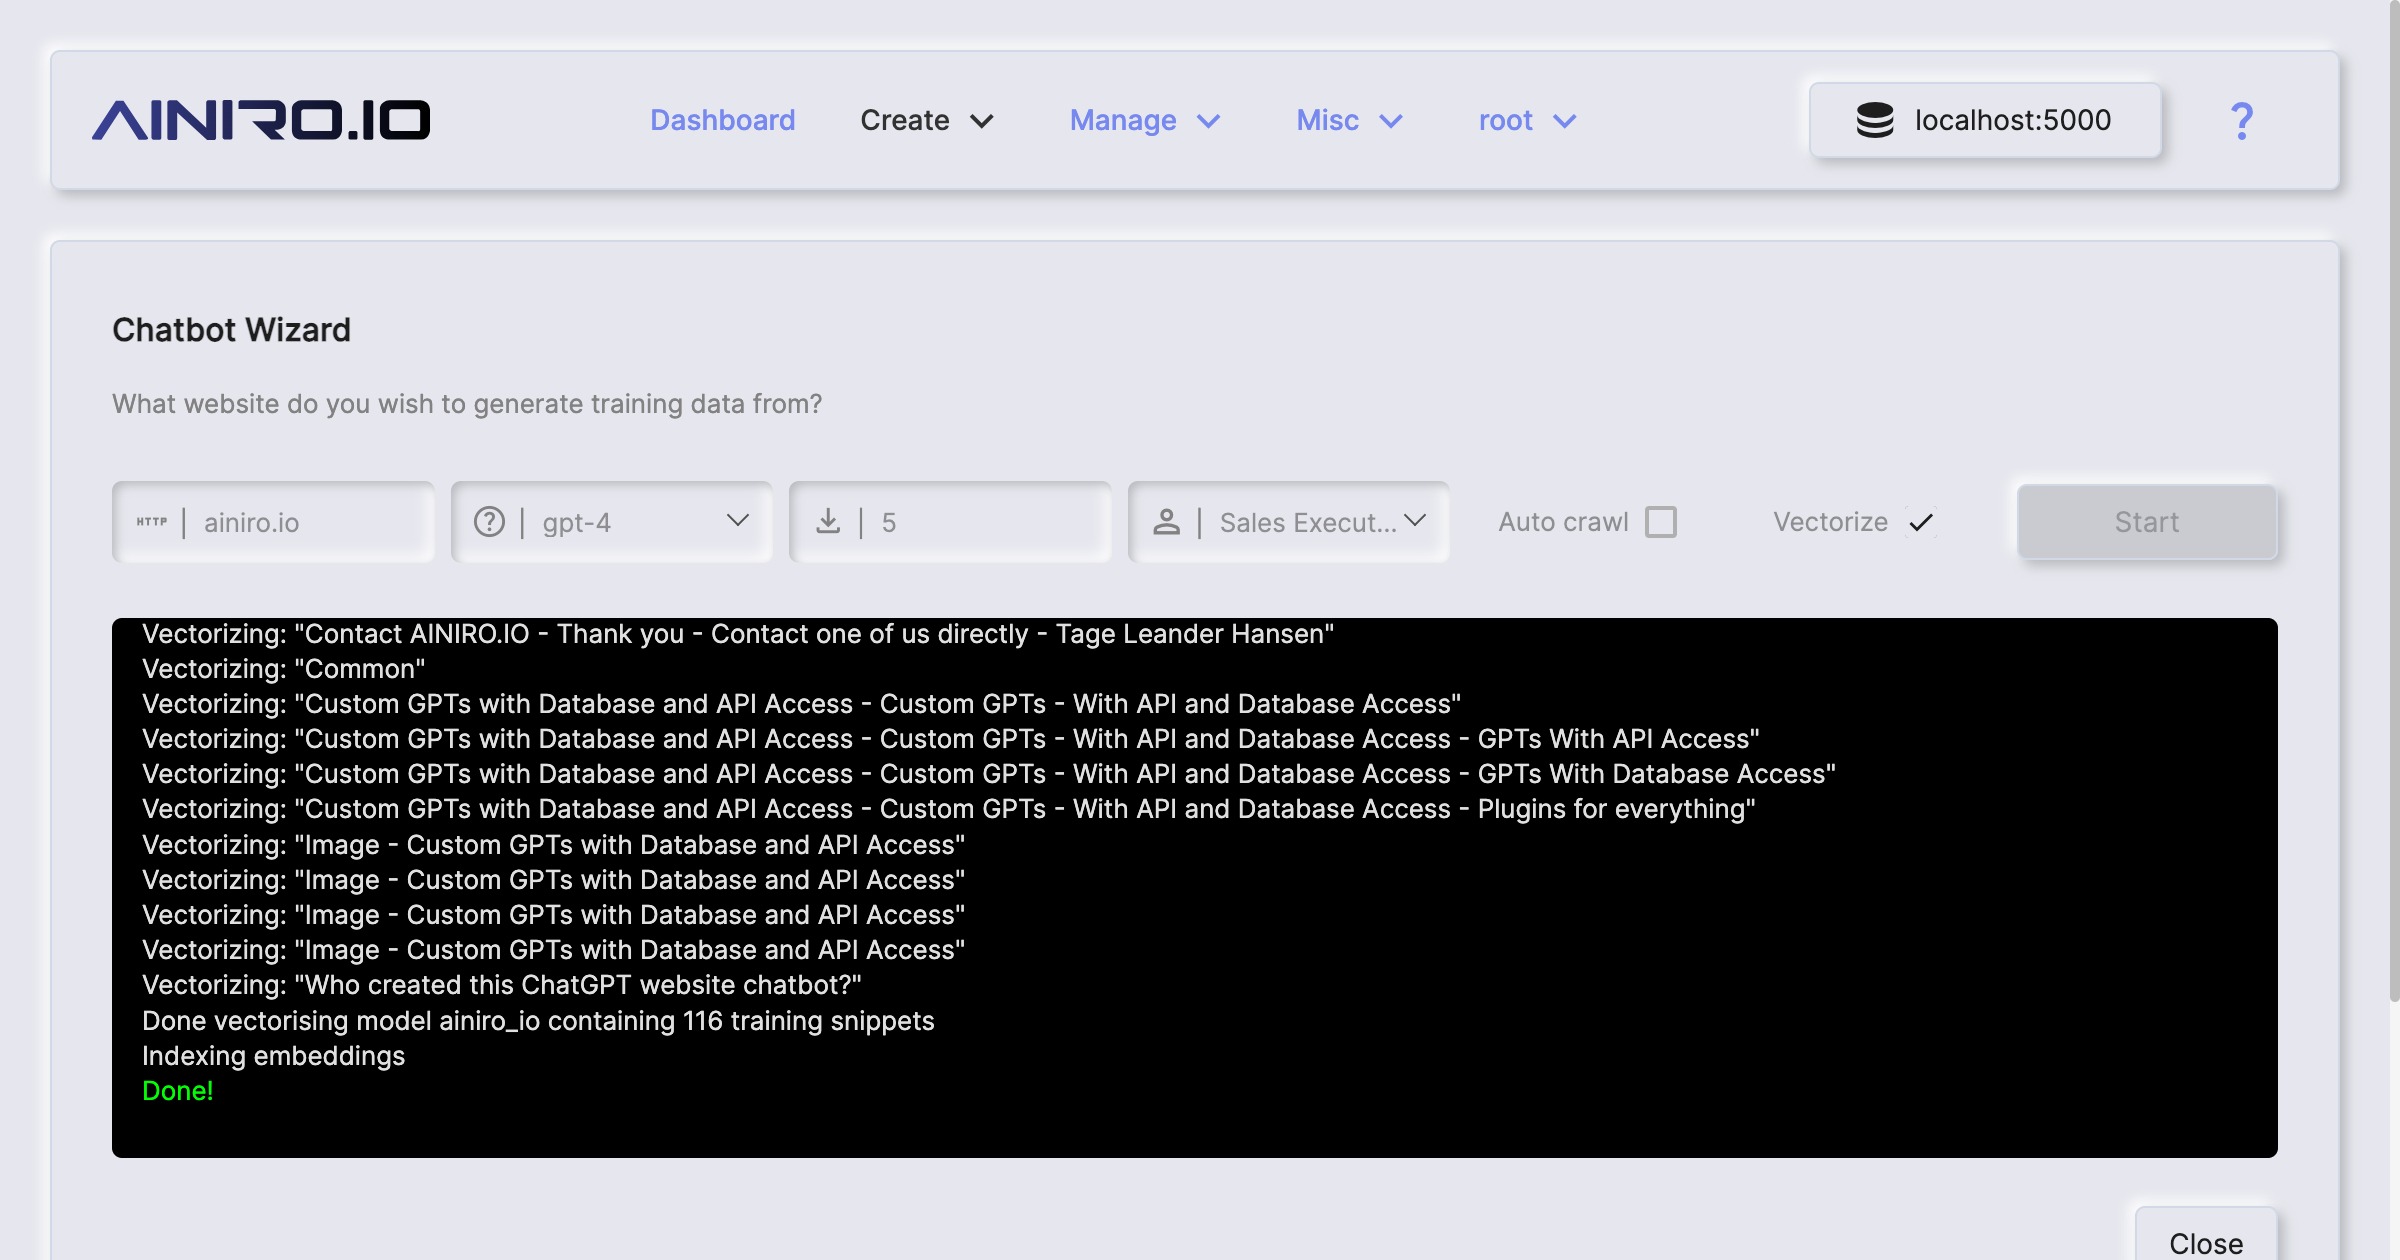
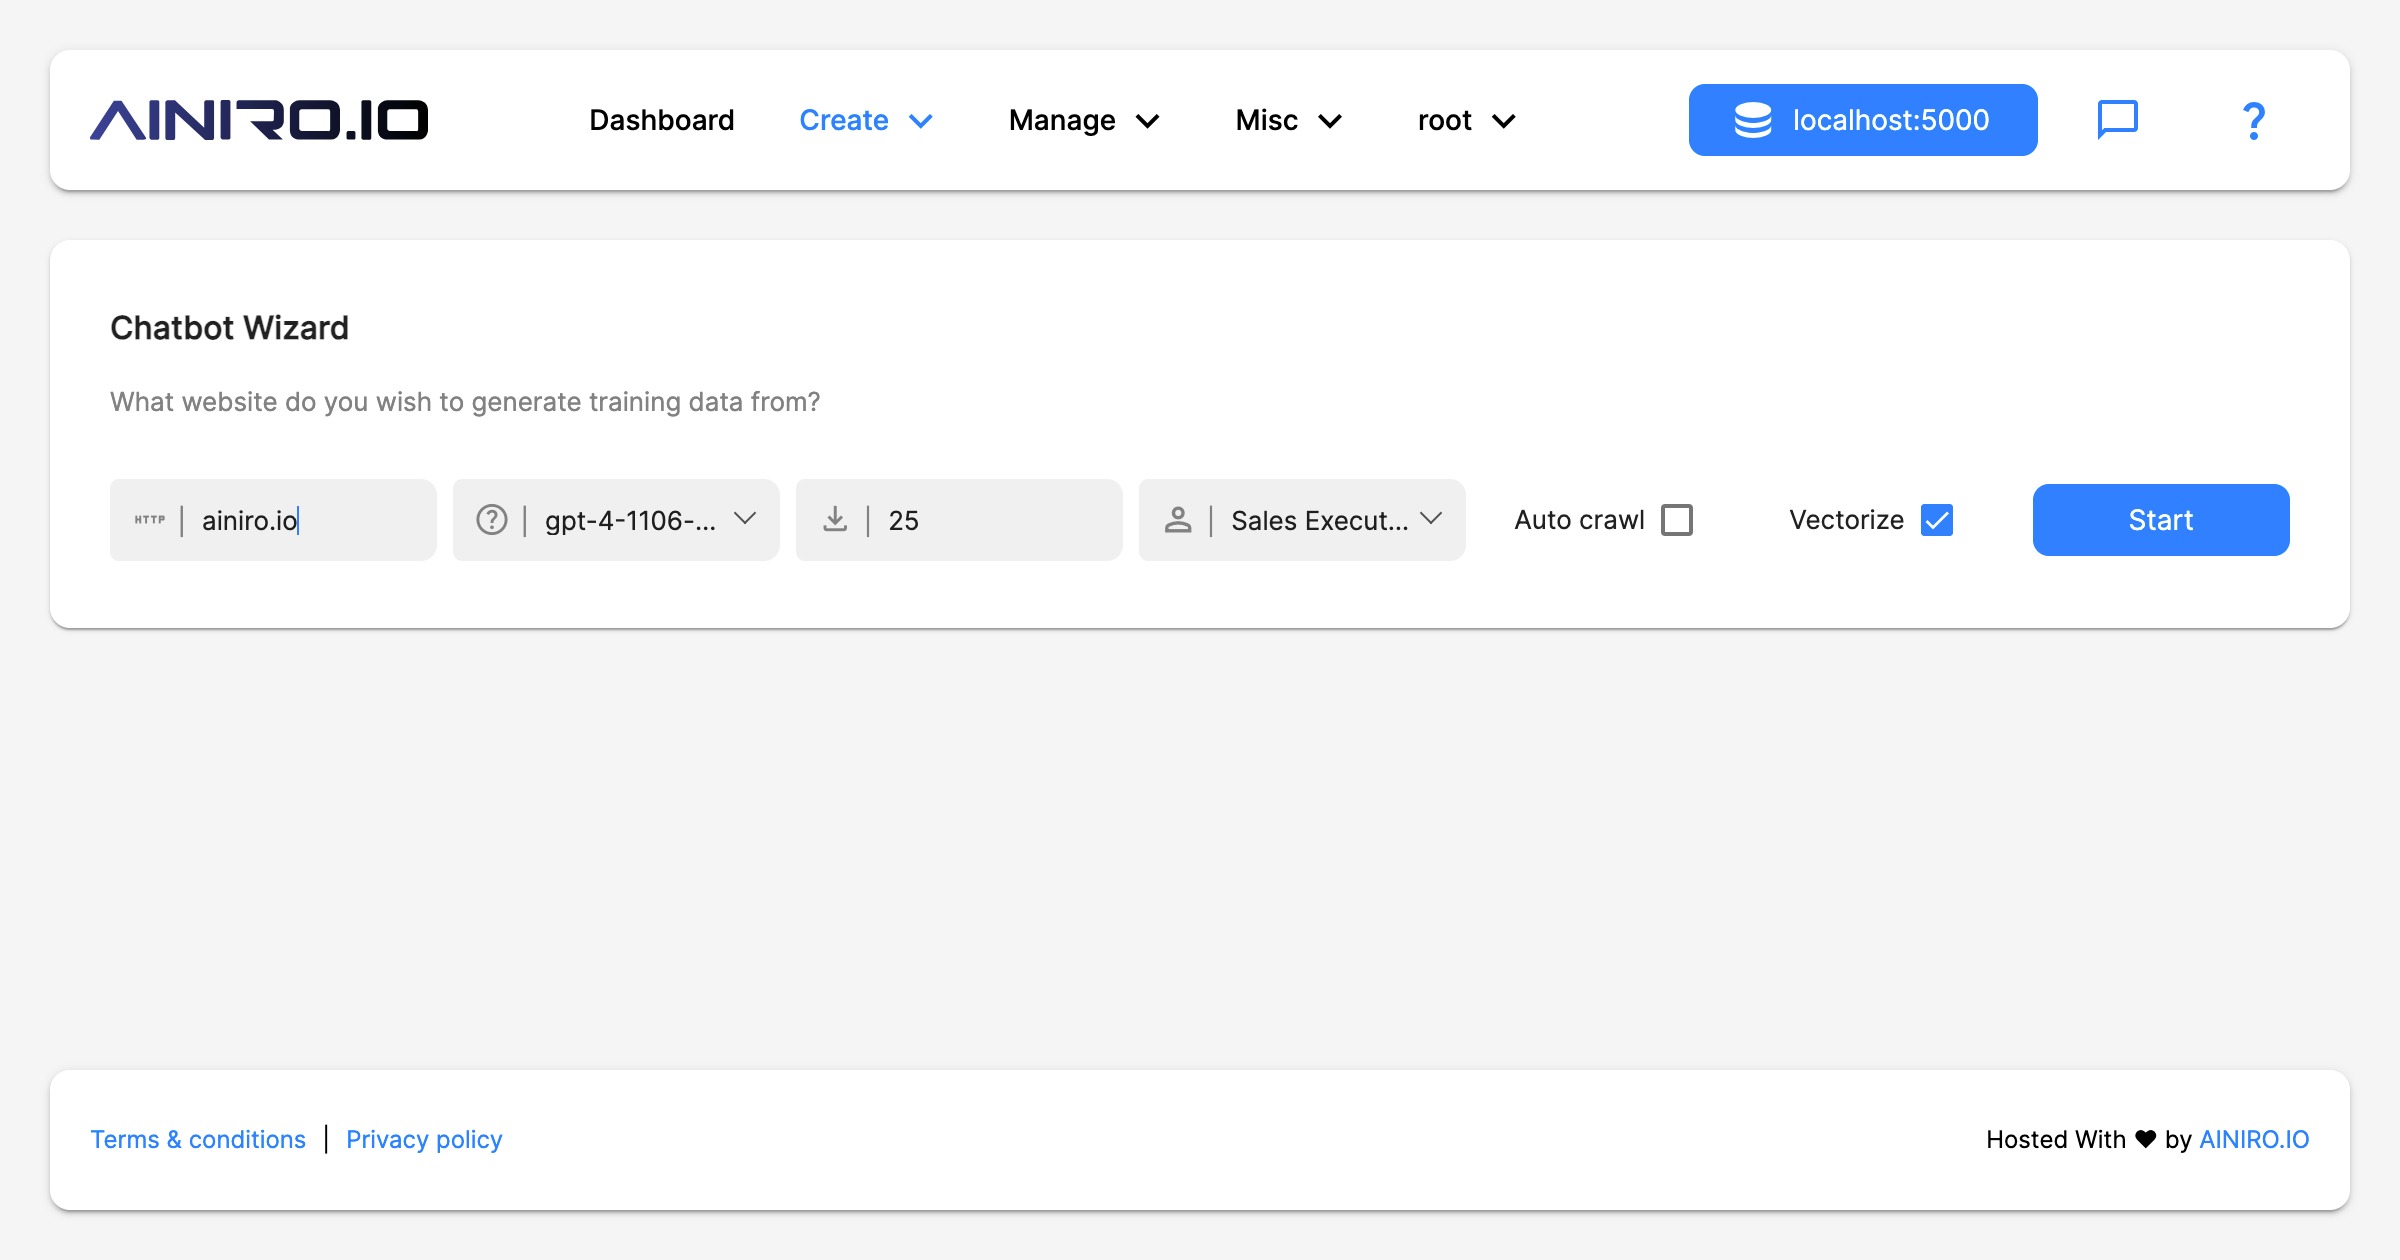
Before you click start, you can choose a flavor, how many pages you want to scrape, what base model from OpenAI to use, if you want to automatically recrawl the website once every 24 hours, and if you want to automatically vectorize the website once you’re done scraping it.
3. Scraping your website
Finally you can scrape your website. Provide the chatbot wizard with your website’s URL, and click the “Start” button.
If you provide a sub-URL such as for instance foo.com/blogs, the scraper will only scrape pages beneath /blogs.
This allows you to scrape an explicitly defined sub-portion of your website, and such have some control over
which pages are being scraped.
When the process is done, Magic will show you an embed dialog allowing you to copy the JavaScript inclusion script required to embed your chatbot on your site.
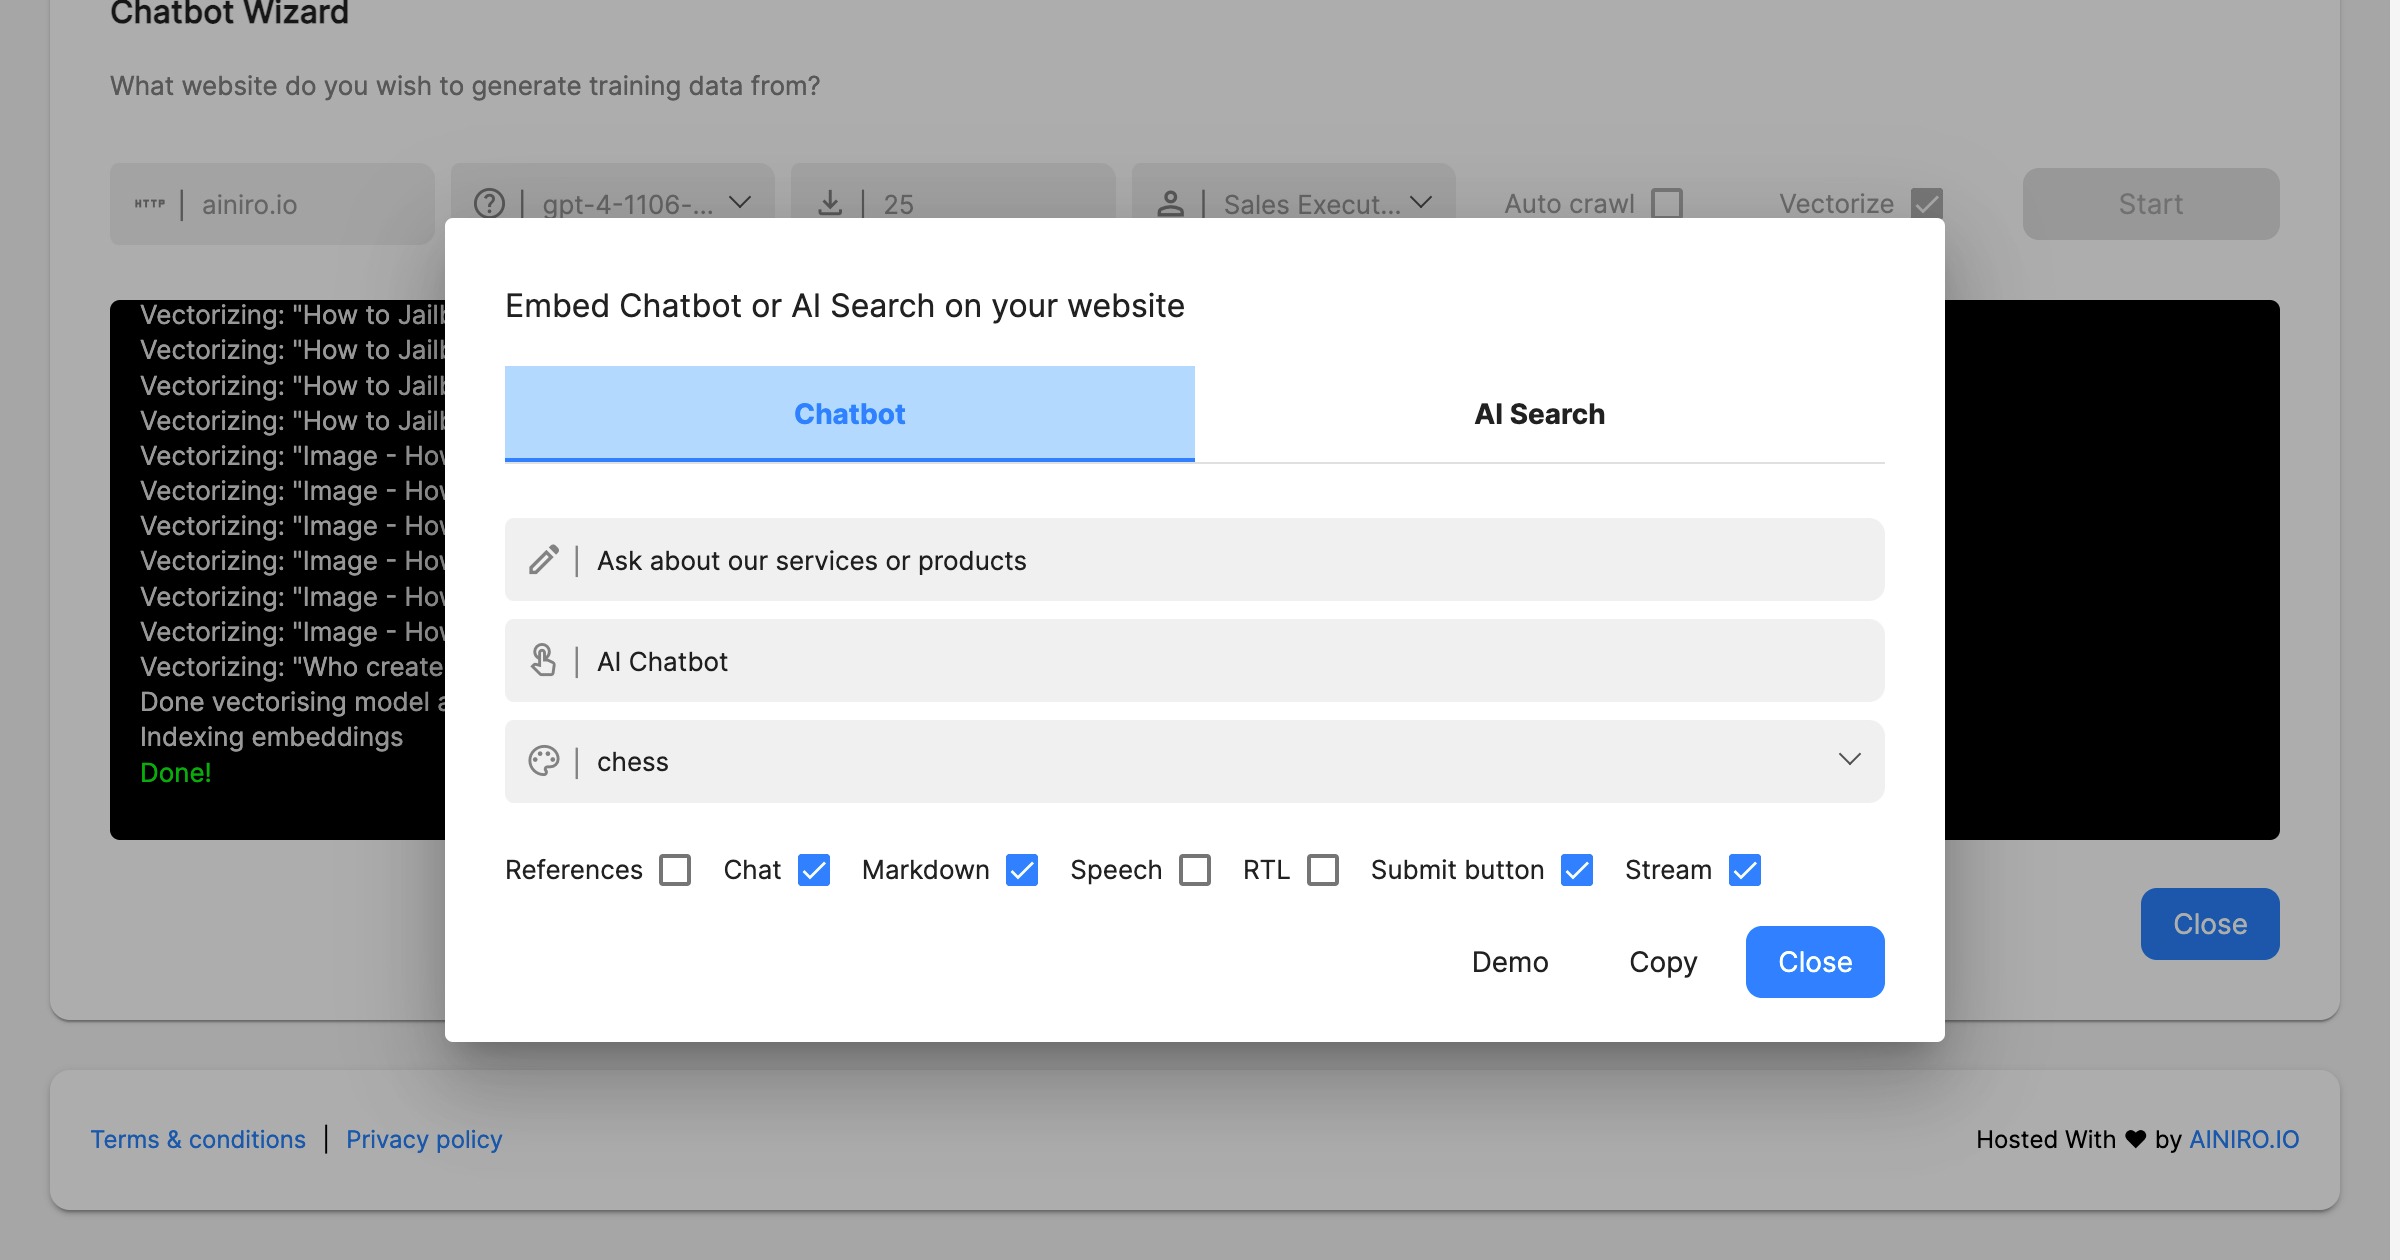
At this point you can already embed your chatbot on your website. Choose your theme, title, button text, etc - And click the “Copy” button. This will put the HTML required to embed your chatbot on your own website on your clipboard. The last settings implies.
- References - If the chatbot should provide citations from your website
- Chat - Must be true to enable chatting
- Markdown - If the chatbot should transform the result from Markdown to HTML
- Speech - If true, the chatbot will support speech recognition and speech synthesis
- RTL - For Arabic, Hebrew, Farsi and other right to left language
- Submit button - If the chatbot should have a submit button
- Stream - If the chatbot should stream its results back to the client
If you want to see how the different themes looks like, you can try all different themese here.
For a complete walkthrough of the entire process, including things not discussed in this article, you can watch the following YouTube playlist.
When you’re done with the above you probably want to use the Machine Learning component to further configure and manage your chatbot.